
 ezJack-2R
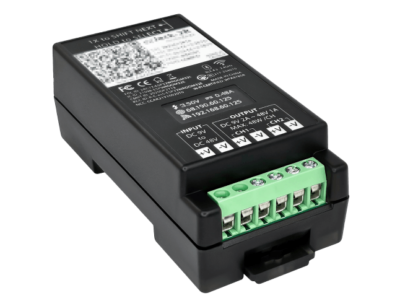

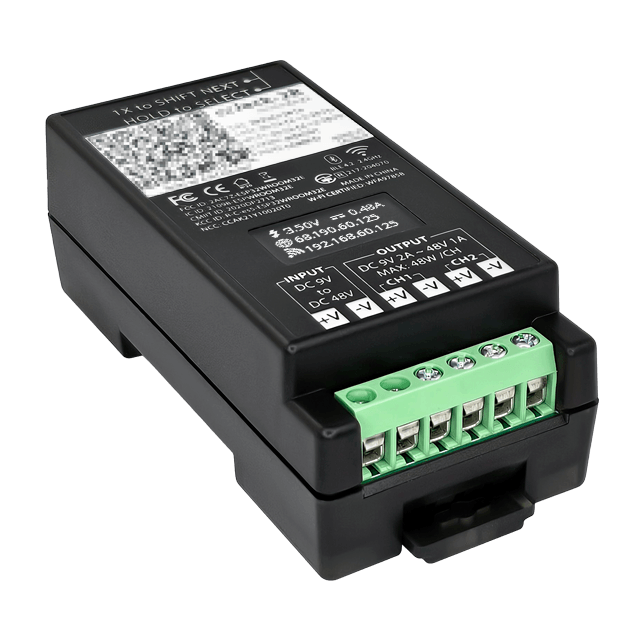
ezJack-2R
The ezJack-2R features two individually controllable DC channel accessible via LAN or Cloud. It is ideal for installation in panels, control boxes, DIN rails, or wall mounts. Designed for autonomous operation, it can resolve network issues without outside intervention. Once set up, it continuously monitors connectivity and automatically resets the device if connection is lost, significantly reducing the need for manual attention, truck rolls, and costly downtimes.
ezJack-2R
with Two DC Output, Wi-Fi, Ethernet, Power Metering, Auto Reboot, Din Rail
The ezJack-2R features two individually controllable DC channel accessible via LAN or Cloud. It is ideal for installation in panels, control boxes, DIN rails, or wall mounts. Designed for autonomous operation, it can resolve network issues without outside intervention. Once set up, it continuously monitors connectivity and automatically resets the device if connection is lost, significantly reducing the need for manual attention, truck rolls, and costly downtimes.
Alternatively, it can also be configured for remote power On / Off / Reset by schedule or manually.
Application / Product:
- For Industrial Gateway/Router, Wireless AP / Bridges, Hub, Switches, IP Cams.
- Install on DIN rail to manage devices inside control panels(1)
- Install on rack cabinets(1).
Note: (1) (Wireless is not suitable for use in metal encasement)
Wired and Wireless Flexibility
The EJ-21 comes equip with Ethernet, WiFi and Bluetooth, offering user flexibility installation options. This enables users to choose the optimal connectivity method for their job site needs.
Monitor Energy Usage
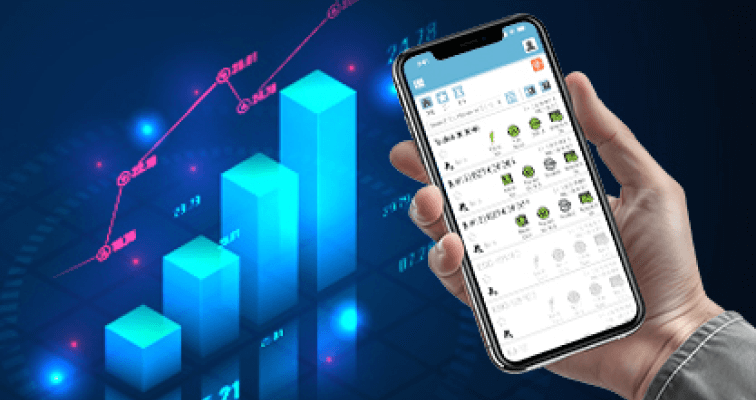
One of the features of this device is its built-in power metering capabilities. Users can monitor the power consumption of connected device over time, allowing them to keep track of energy usage and make informed decisions. Additionally, the EZ-21 can be configured to send notifications if any connected device exhibits abnormal power consumption patterns. This proactive feature helps in identifying potential issues before they escalate.
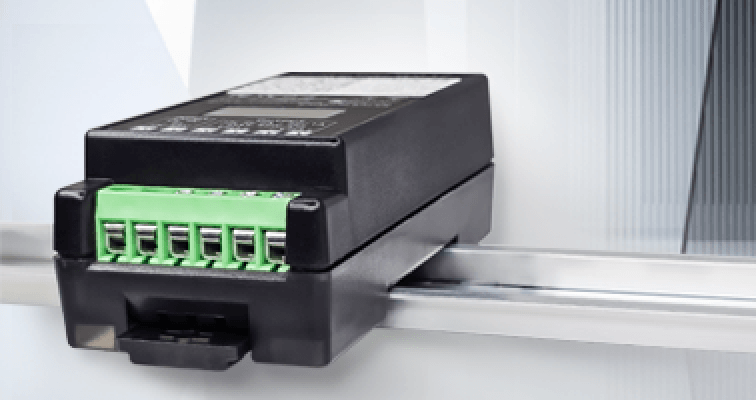
DIN rail installation for Panels Boxes
Mount EJ-21 on standard DIN rail systems, typically found inside electrical enclosures, interior panels, racks, or even on walls.
Cloud4UIS Management Platform
Manage and control ezJack-2R through Cloud4UIS.com or the ezDevice app.
- Install ezDevice APP and scan to locate device.
- Device connects to nearest Wi-Fi AP or is connected via Ethernet cable to router.
- Device auto pairs with user's Cloud4UIS account.
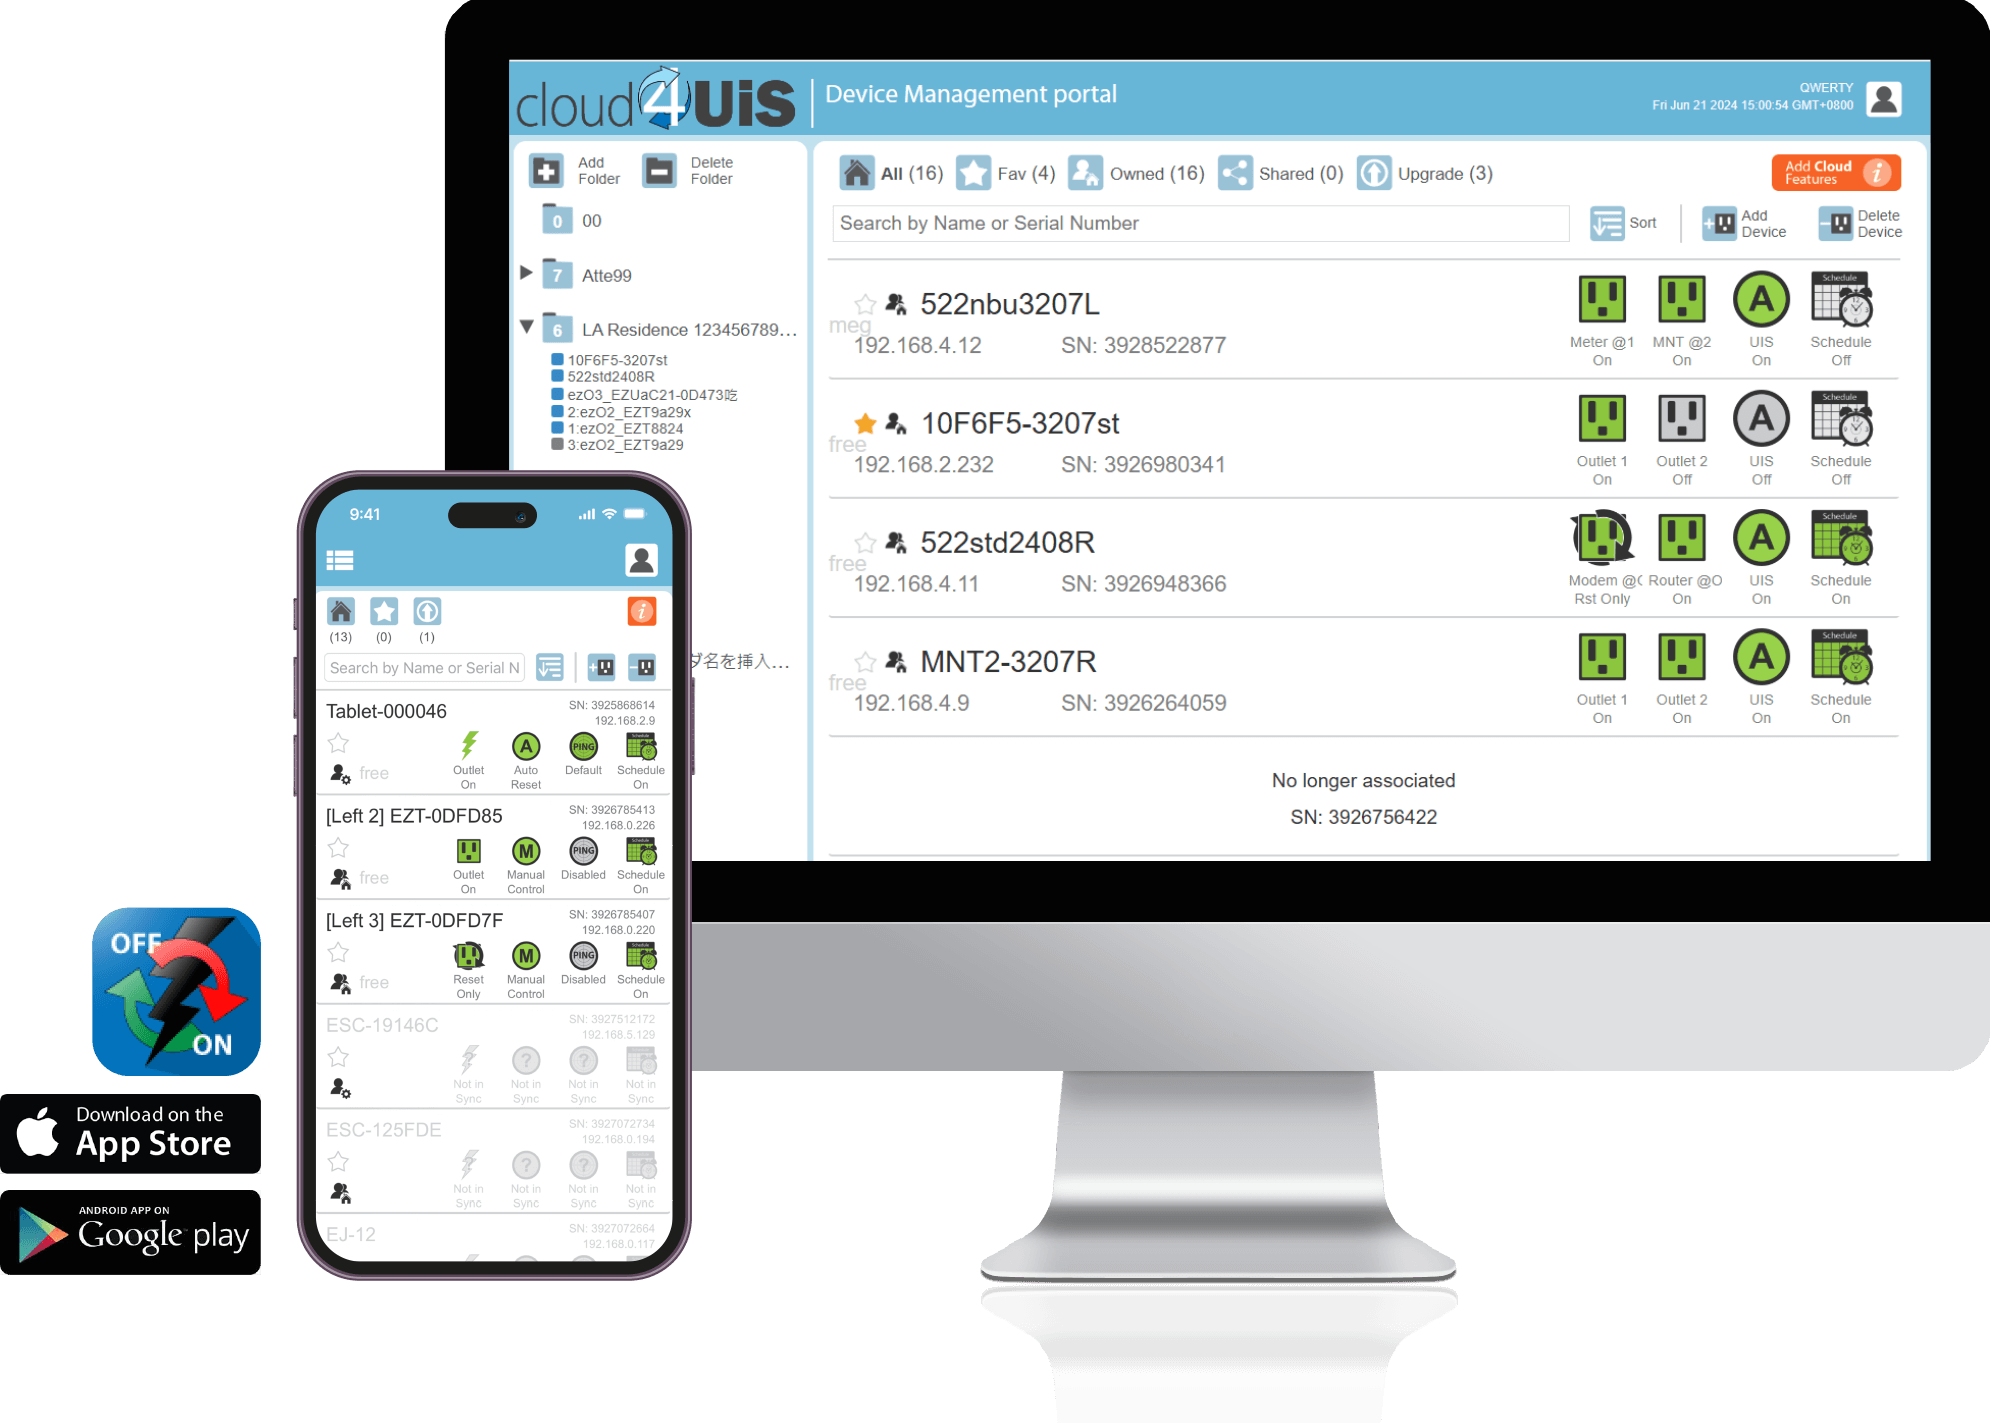
- Remotely Access and control devices
- Manage and monitor devices on a single platform
- Share device with other cloud users
- Assign access permission to shared user
- Designate Favorite to make unit easily available
- Stay updated with latest OTA firmware upgrades
- 6-pin terminal block (1x DC Input, 2x Controllable DC Output).
- Built-in circuit breaker.
- Input & Output connector protection against reverse wiring.
- Patented Auto Reset method when ping fails.
- Built-in Voltage & Current Meter.
- Informative OLED display.
- Support both Ethernet and Wi-Fi connection.
- Bluetooth support.
- Remote management via the free ezDevice APP or Cloud4UIS.com platform.
- Upgradeable to Business Cloud platform for managing multiple units and users.
- Schedule one-time or recurring power On, Off, or Reset actions.
- Small form factor for panel box DIN rail installation.
- Built-in device GUI.
- RESTful API support.
Ver.:5c15
| Description | 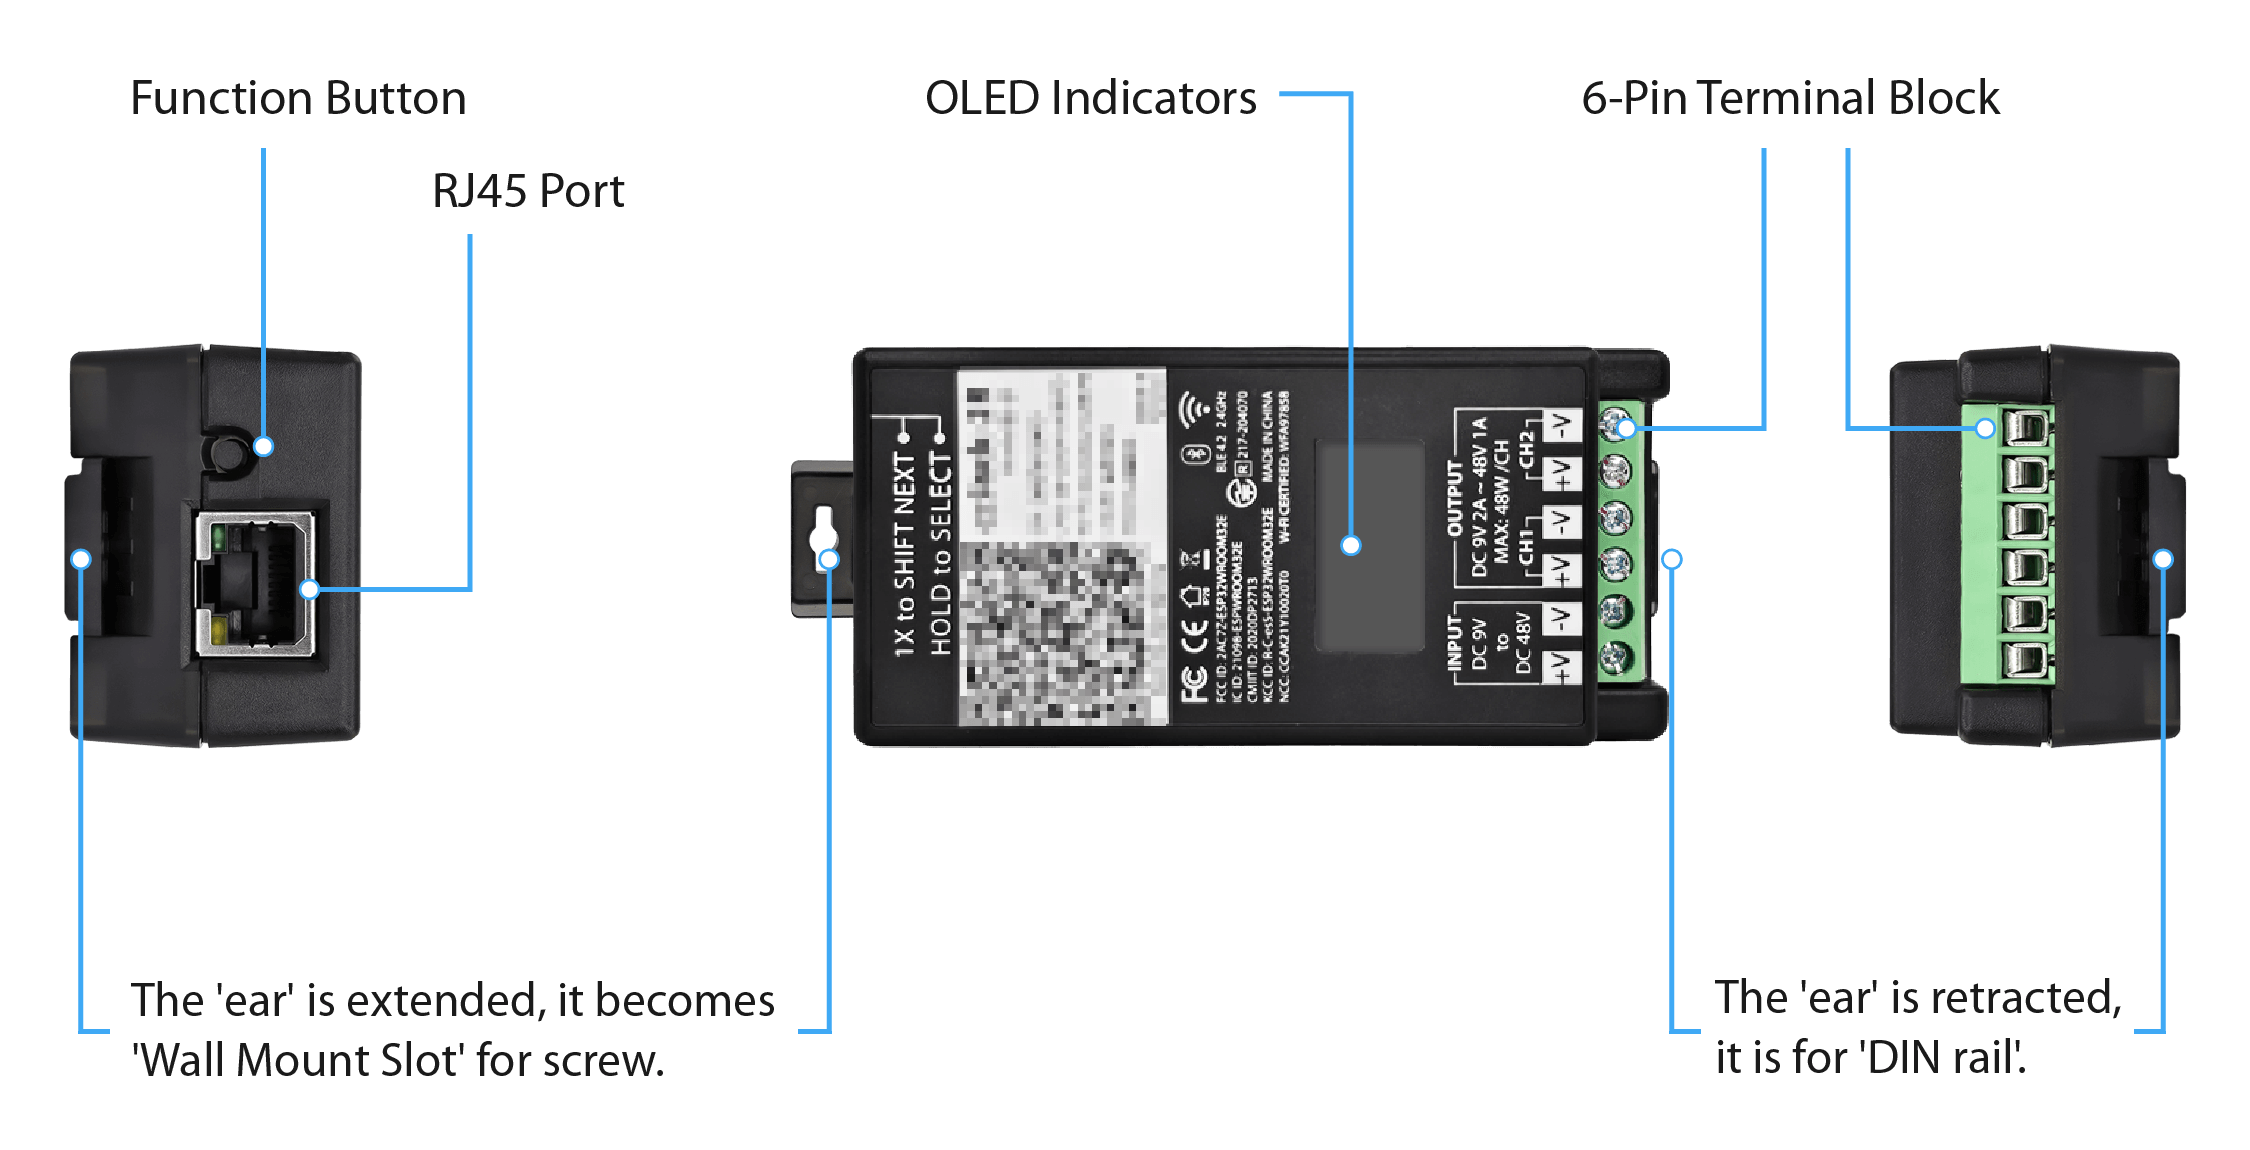 |
| Dimensions (mm) | 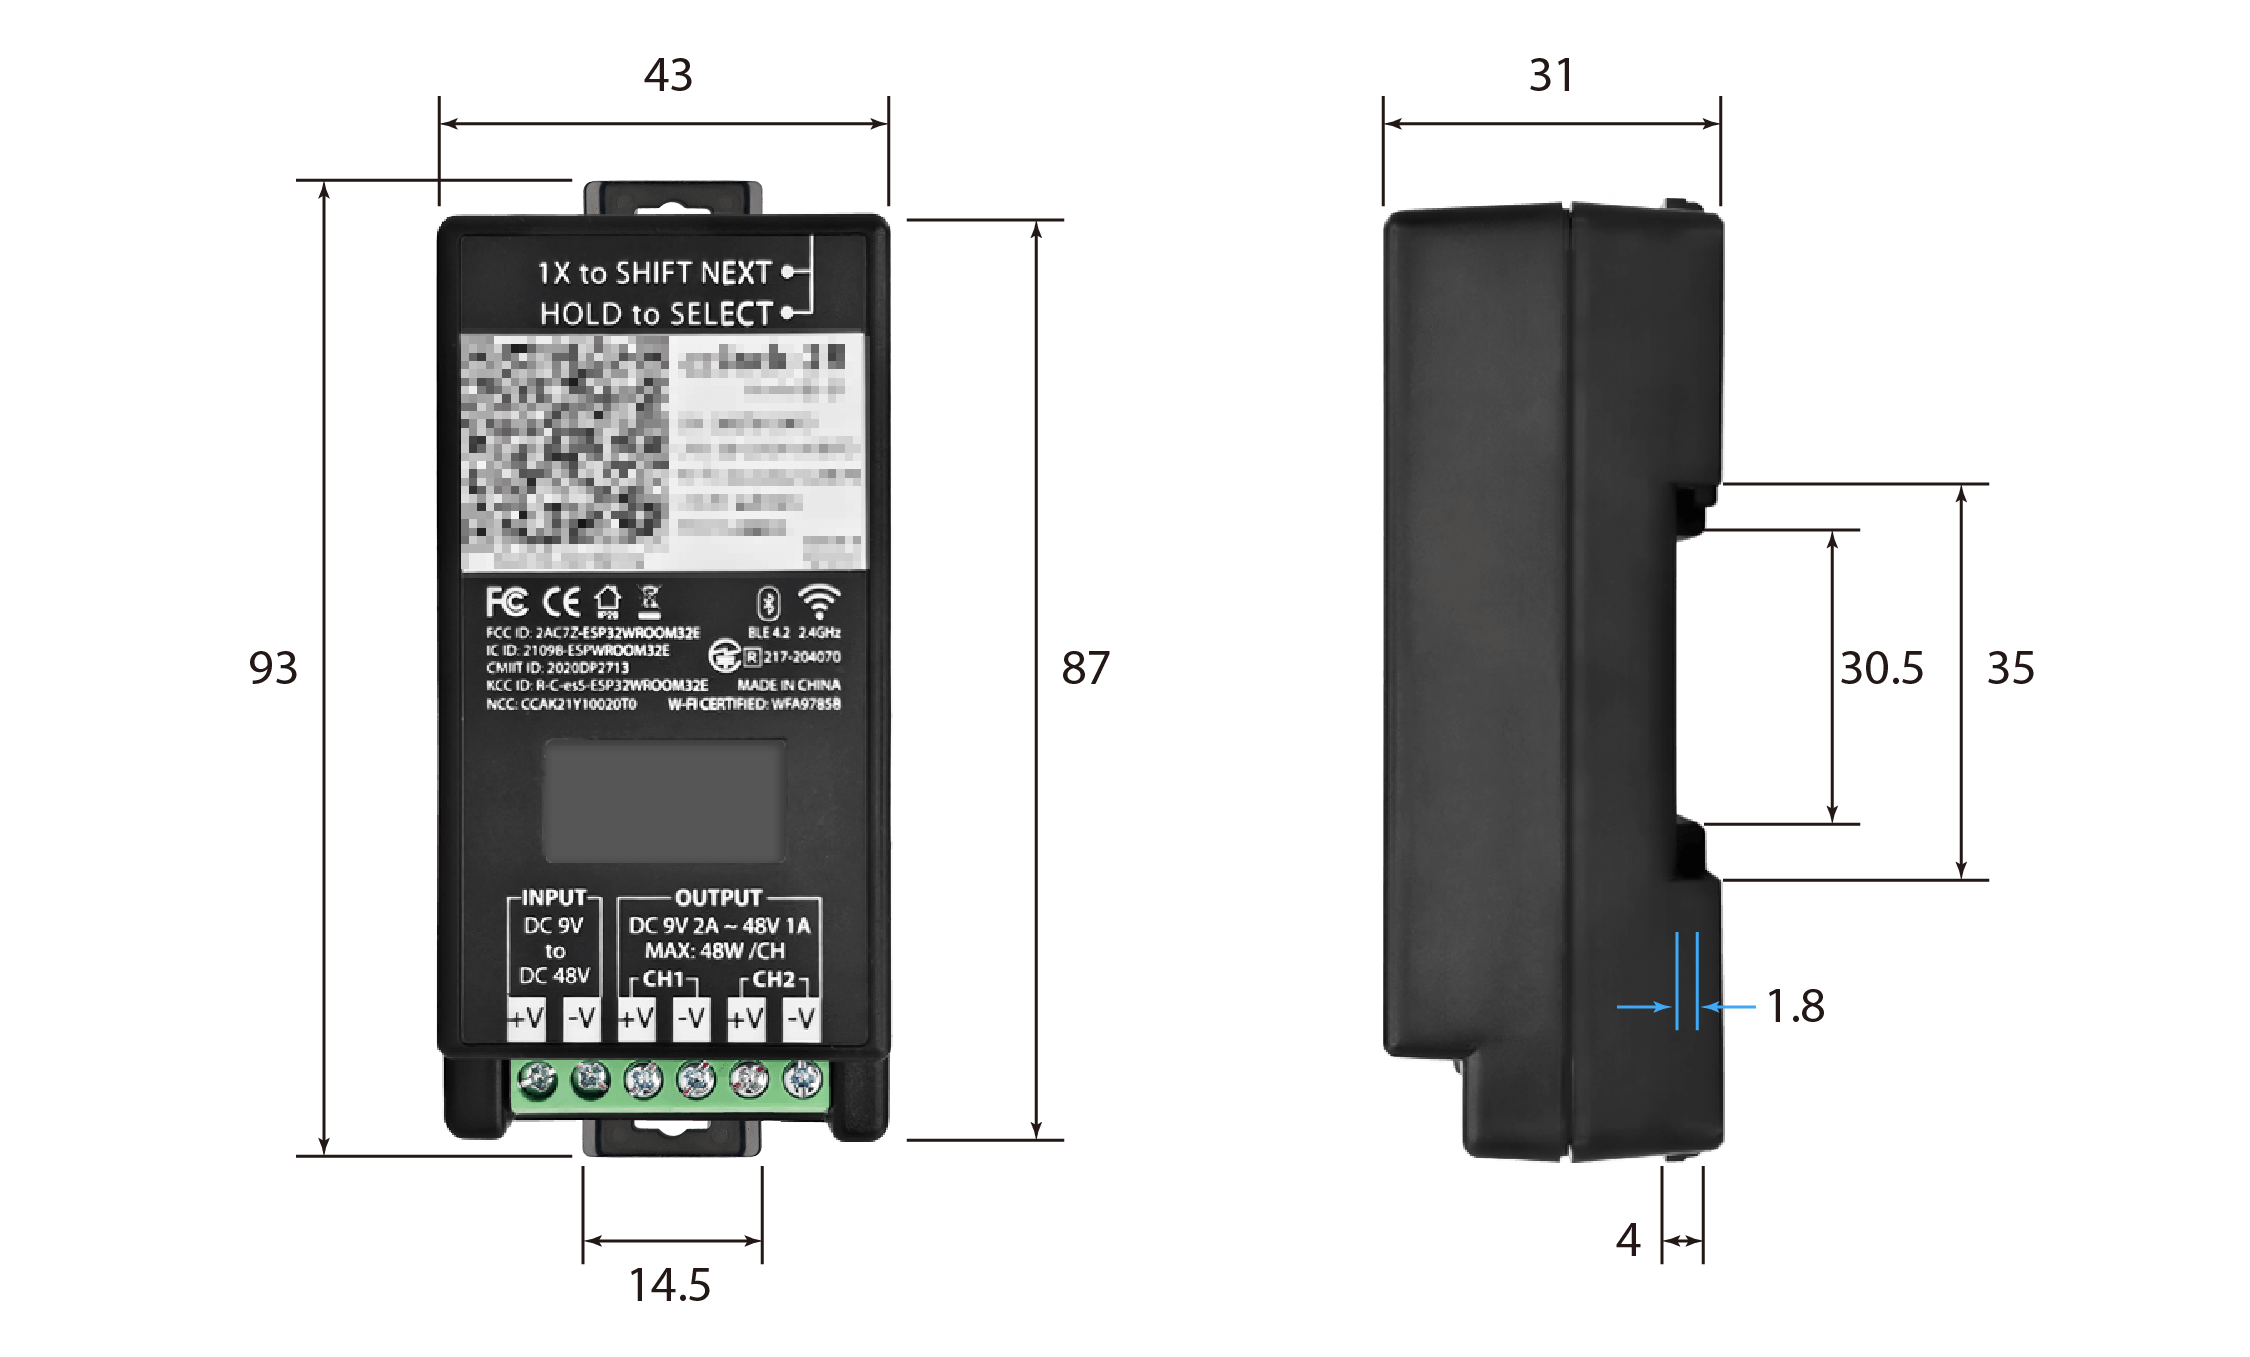 |
| Din Rail Specification: |
|
| Control and management interface: |
|
| Function Button |
|
| Network Access |
|
| Power Metering |
Individual Channel Metering Current (±2.0% ±0.1A) Voltage (±2.0% ±0.1V) Power (±2.0% ±0.1W) Note: All values are for reference only. |
| Electrical Rating |
|
| Support | Android APP / iOS APP / Microsoft Edge / Chrome / Java / Safari browser |
| Certification | FCC ID (USA), NCC (Taiwan), KCC (Korea), CE (Europe), CMIIT ID (China), ISED ID (Canada), MIC (Japan) |
| Operating Temperature | 0°C ~ 70°C at 10% ~ 90% relative humidity. For indoor use only. |
| Package contents |
|
| Product Package | Brown Box or In-Bulk |
| Package Dimension | 70 x 40 x 110 mm |
| Net(Gross) Weight / Set | TBD |
| Carton Measurement | TBD |
| MODEL NO. | DOWNLOAD | ||||
|---|---|---|---|---|---|
| EZJACK-2R |
| PROGRAM NAME | VERSION | DATE | DOWNLOAD | FILE SIZE | NOTES |
|---|---|---|---|---|---|
| Netility for Windows | v5.2.1 | 18th Oct., 2024. | Netility for Windows V5.2.1.rar | 5.3MB | |
| Netility for MAC | v2.0 | 20th Oct., 2017. | Netility for MAC V2.0.rar | 976KB |
Notice:Firmware upgrades are undertaken at the user’s sole discretion and risk. Any damage caused by an improper upgrade procedure is not covered by manufacturer’s warranty.
Current Firmware Release Notes:
| Fixed |
|
| Fixed |
|
Firmware Upgrade Instructions: Upgrades this device Over-the-Air (OTA) via your Cloud4UIS.com account.
Upgrade Steps:
- Account Setup: Sign up for a Cloud4UIS.com account.
- Check Connectivity: Ensure your device has an active internet connection and the Cloud Link LED is blinking (else the next step will fail).
- Register Device: Log in to your account and select ‘Add Device’.
- Execute Upgrade: Once the device is added, navigate to the [Upgrade] folder and follow the on-screen prompts.
WARNING: DO NOT power-cycle or disconnect the device from the internet during the upgrade process
Support & Frequently Asked Questions
The following page is a compilation of frequently asked questions with regards to MSNswitch usage.
If you encounter a problem that is not listed in this FAQ, please email us. Be sure to include in your email:
- a) Model number
- b) Screen capture of “System Status” page
- c) Screen capture of the issue
Do you have any suggestions or “Wish List” for our product? We’d like to hear from you. Send us an email.
Use ‘APP password’.
For Gmail, please refer to: Google Support Link
eg:
E-mail Server: smtp.gmail.com
E-mail Port: 465 or 587 (either one)
Sender’s Email Address: abc@gmail.com
User Name: abc@gmail.com
Password: APP Password
For Yahoo email, please refer to: Yahoo Support Link
Goto GUI > Configuration > Heartbeat [Help] > [ Download API document ]
Login to device GUI > System Status > Cloud Status.
- Enabled (Online) = Cloud Enabled. Device linked / added to Cloud account.
- Disabled (Offline) = Cloud Disabled. Device linked / added to Cloud account.
- Enabled (Offline) = Cloud Enabled. Device linked / added but is not able to connect with server.
- Enabled ( – ) Cloud Enabled. Device has not been linked / added to a Cloud account.
- Disabled ( – ) Cloud Disabled. Device has not been linked / added to a Cloud account.
On these models, Cloud function is disabled by default.
Login to device GUI > Network > Cloud Service [Enable] > [Apply].
Proceed to ezDevice APP or Cloud4UIS to ‘Add’ device to account.
- Check router DHCP table for the device’s LAN IP.
- Browse to said LAN IP.
- Enter login credential shown on device label.